Your water heater is an important part of your home that you may not think about often. Water heaters work every day to provide warm and hot water for showers, laundry, dishwashing, and other daily tasks. However, over time minerals and other sediments build up inside the tank.
Without proper maintenance, these can reduce the efficiency of your unit causing issues that can shorten the lifespan of the heater. The good news is that regular maintenance can help your unit run smoothly and add years to its longevity.
In this guide, we will outline how to drain a water heater, how to troubleshoot common issues, and when to call in a professional plumber for further maintenance.
1. Signs It’s Time to Drain Your Water Heater
You never realize how much you use and rely on your water heater until it breaks. Nothing is worse than running out of hot water for your shower on a cold January evening! However, there are several signs to look out and listen for that signal that it is time for maintenance.
- Popping or rumbling noises: These sounds are caused by water percolating through sediment inside of the tank. If you hear these noises, it is a sign that you need to clean your water heater, especially if it has been more than a year.
- Cloudy water: If you start to notice cloudy or rusty water, sediment or corrosion may be impacting your water quality.
- Reduced water supply or longer heating time: Sediment buildup makes the heater work harder to provide hot water so if you are noticing it takes longer for the water to heat up, or you are noticing less hot water, it is time to do some maintenance.
- Manufacturer’s recommendation: Most water heaters need to be drained at least once a year.
2. Preparing to Drain Your Water Heater
If you are ready to drain your water heater, you need to gather a few tools to ensure your safety.
Tools to grab:
- A hose (a garden hose works; ensure that it is long enough to reach your floor drain or outside)
- Bucket
- Screwdriver or wrench
- Old towels or rags
Ensure your safety:
- Turn off the power or gas: If your unit is a gas water heater, turn off the gas. If it is an electric water heater, be sure to turn off the electric or breaker that controls the water heater.
- Shut off the water supply: Close the water valve on the tank to prevent leaks and a major mess.
- Cool down: Let the water temperature cool as hot water can cause serious burns. This may take a few hours.
3. Step-by-Step Guide: How To Drain Your Water Heater
Once you have completed the safety steps above and have gathered all the necessary tools, you are ready to drain your water heater. Here is a simple process for how to drain your water heater:
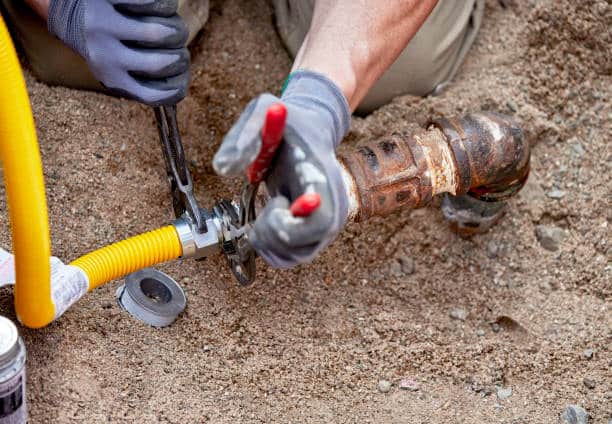
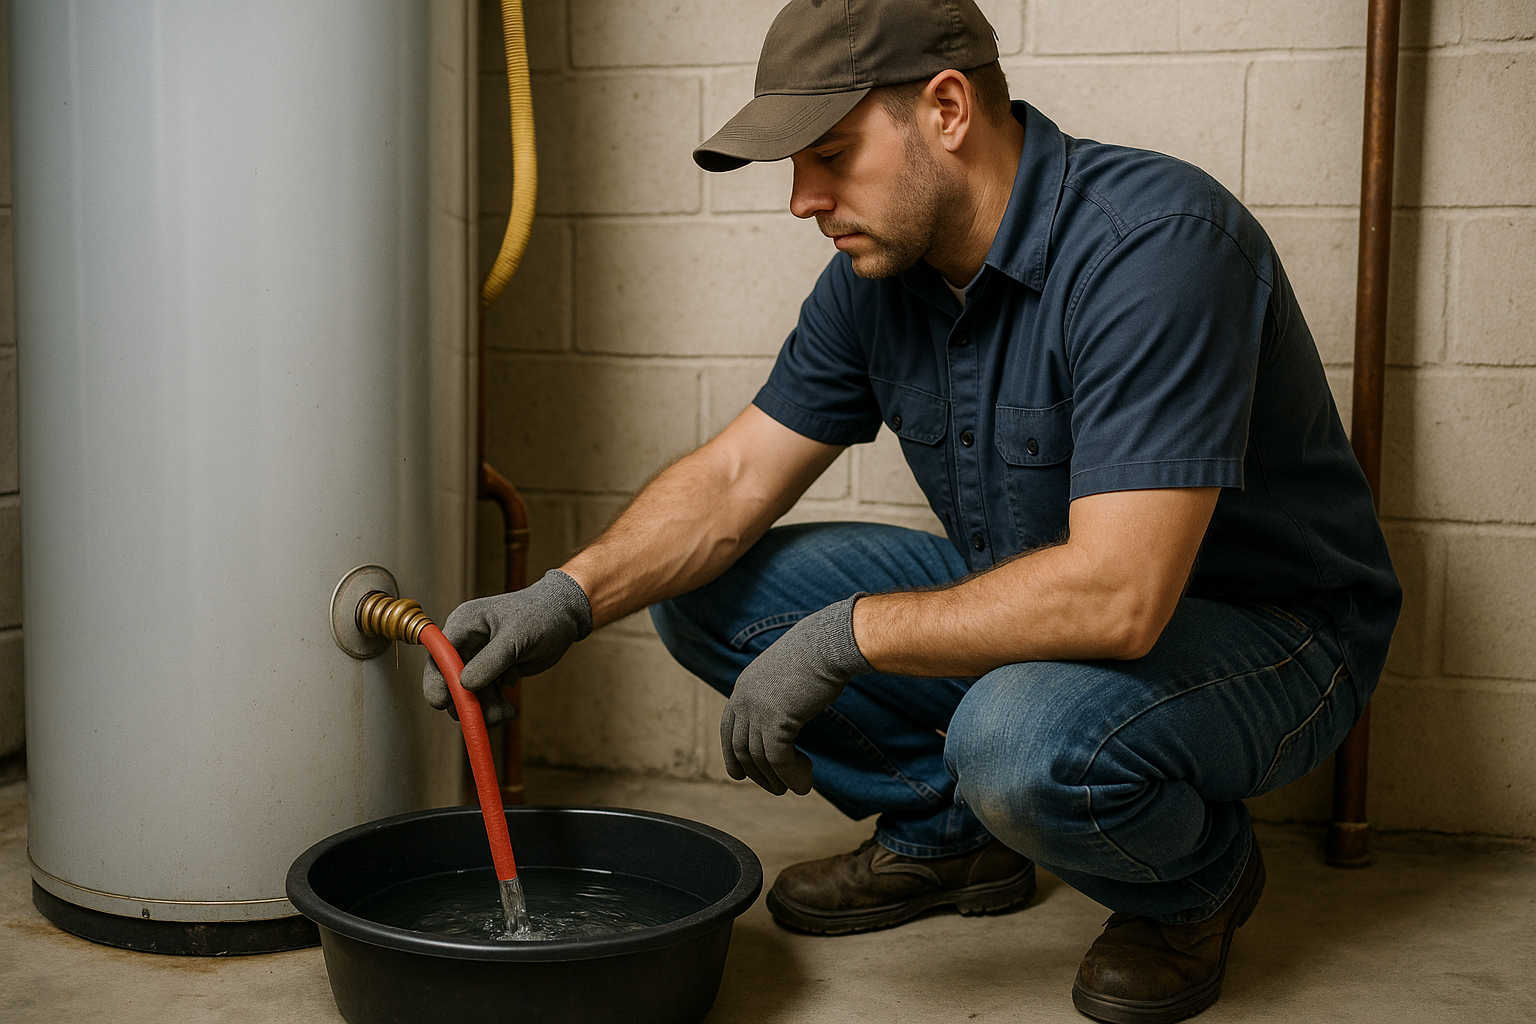
- Attach the hose: Connect one end of your hose to the drain valve and put the other end in the bucket, directed towards the floor drain, or outside.
- Open the hot water tap in your home: Turn on a hot water faucet to prevent a vacuum from forming.
- Open the pressure release valve: Slowly open the valve to allow the tank to drain faster. Additionally, this allows you to assess the pressure release valve and ensure that it is working properly.
- Flush the tank: Open the faucet on the drain and empty your water heater. You will notice sediment draining so do not be alarmed if you see more than you anticipated.
As the water begins to slow, turn on the cold-water supply to flush out the remaining sediment and continue to let it drain until the water runs clear.
- Close the valve and refill the tank: Close the drain valve tightly and turn the cold-water supply on to begin refilling the tank.
- Restore the power or gas: Relight the pilot light or restore power to the heater to allow the water to begin to heat again.
4. Troubleshooting Common Problems
Sometimes, despite our best efforts and regular maintenance, draining the water heater does not go as planned. Some common issues and how to resolve them include:
- Water does not drain: Sediment and minerals may be blocking the valve. Gently use a stiff wire to try to dislodge any gunk or use a shop vac drain attachment to suck out the sediment.
- Continuing noises even after draining: This may be a sign that some sediment may be remaining. Try to flush the heater a second time or call a professional plumber to troubleshoot further.
- Leaks: Older valves and pipes can wear over time. Replacing the valve may be necessary.
5. How to Maintain Your Water Heater Post-Drain
Once you have properly drained your water heater, it is important to keep up with maintenance. Ensure that you repeat the process annually to prevent heavy sediment and mineral buildup.
Adjust the temperature of your heater and keep the thermostat at around 120°F to save energy and reduce scaling inside your tank. Additionally, check the anode rod annually as it helps to prevent corrosion inside the tank and replace it if it is worn. Finally, schedule routine inspections with a professional plumber to ensure that any major issues are spotted and corrected early before they become major headaches.
6. When to Call In A Professional
Draining your water tank is not difficult and is usually straightforward, but some may not feel comfortable with the process, especially if it is their first time. Do not hesitate to call in a licensed professional plumber if you run into any issues such as a stuck or leaking drain valve, you have an old tank, are uncomfortable working with gas or electricity, or if you continue to have hot water problems even after draining your tank.
Maintaining your home’s water heater is not difficult and is an easy way to improve the performance of your heater and extend its lifespan. By following a few simple steps, gathering a
couple of tools, and only a few hours of your time, draining your water heater annually keeps it running safely for years to come.
Whether you prefer to do it yourself or call in the professionals at Betros Plumbing, the job will pay off in the long run. Contact Betros Plumbing to schedule your water heater maintenance or other plumbing service today!